-
×
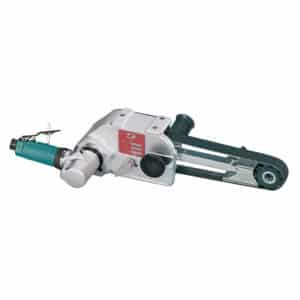 Dynabrade 11475 Dynabelter Abrasive Belt Tool, Standard Duty
1 × $1,520.00
Dynabrade 11475 Dynabelter Abrasive Belt Tool, Standard Duty
1 × $1,520.00 -
×
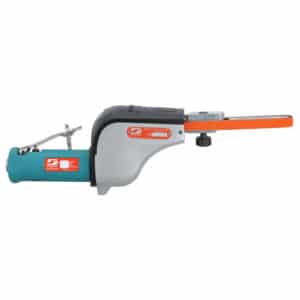
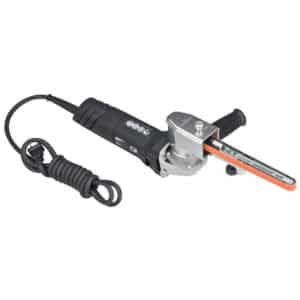 Dynabrade 40610 Electric Dynafile II Abrasive Belt Tool
1 × $420.00
Dynabrade 40610 Electric Dynafile II Abrasive Belt Tool
1 × $420.00 -
×
 ACS Diamond Cloth Belt, CX1250 3" X 90" 45U
2 × $171.30
ACS Diamond Cloth Belt, CX1250 3" X 90" 45U
2 × $171.30 -
×
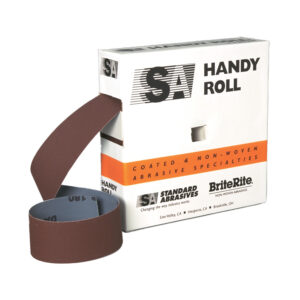
 Standard Abrasives 713276, Aluminum Oxide Handy Roll, P180 J-weight, 2 in x 50 yd, 7100037246
2 × $52.38
Standard Abrasives 713276, Aluminum Oxide Handy Roll, P180 J-weight, 2 in x 50 yd, 7100037246
2 × $52.38 -
×
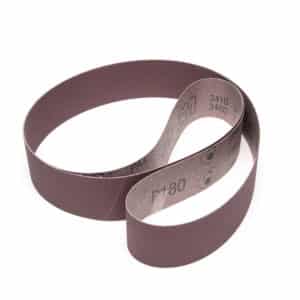 3M 26404, Cloth Belt 341D, 50 X-weight, 2-1/2 in x 60 in, Film-lok, Single-flex, 7010361743, 50 per case
50 × $6.52
3M 26404, Cloth Belt 341D, 50 X-weight, 2-1/2 in x 60 in, Film-lok, Single-flex, 7010361743, 50 per case
50 × $6.52 -
×
 3M 26568, Cloth Belt 341D, 50 X-weight, 2 in x 48 in, Film-lok, Single-flex, 7010361745, 50 per case
50 × $4.39
3M 26568, Cloth Belt 341D, 50 X-weight, 2 in x 48 in, Film-lok, Single-flex, 7010361745, 50 per case
50 × $4.39 -
×
 Dynabrade 14000 Dynafile Abrasive Belt Tool
1 × $734.00
Dynabrade 14000 Dynafile Abrasive Belt Tool
1 × $734.00 -
×
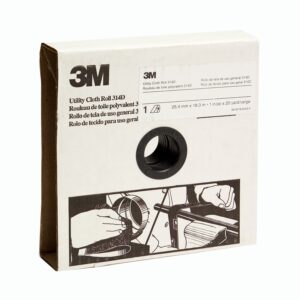 3M 19795, Utility Cloth Roll 314D, P400 J-weight, 1-1/2 in x 20 yd, 7100081717
5 × $47.61
3M 19795, Utility Cloth Roll 314D, P400 J-weight, 1-1/2 in x 20 yd, 7100081717
5 × $47.61 -
×
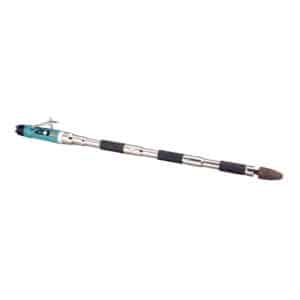 Dynabrade 53533 Cone or Plug Grinder (Triple Extension)
2 × $1,569.00
Dynabrade 53533 Cone or Plug Grinder (Triple Extension)
2 × $1,569.00 -
×
 3M Finesse-it Microfinishing Film Disc Roll 268L, 1-7/16 in x NH 7 Micron Scalloped, 7100040582
4 × $269.11
3M Finesse-it Microfinishing Film Disc Roll 268L, 1-7/16 in x NH 7 Micron Scalloped, 7100040582
4 × $269.11 -
×
 Standard Abrasives 713297, Aluminum Oxide Handy Roll, P120 J-weight, 2 in x 50 yd, 7100031623
1 × $52.38
Standard Abrasives 713297, Aluminum Oxide Handy Roll, P120 J-weight, 2 in x 50 yd, 7100031623
1 × $52.38
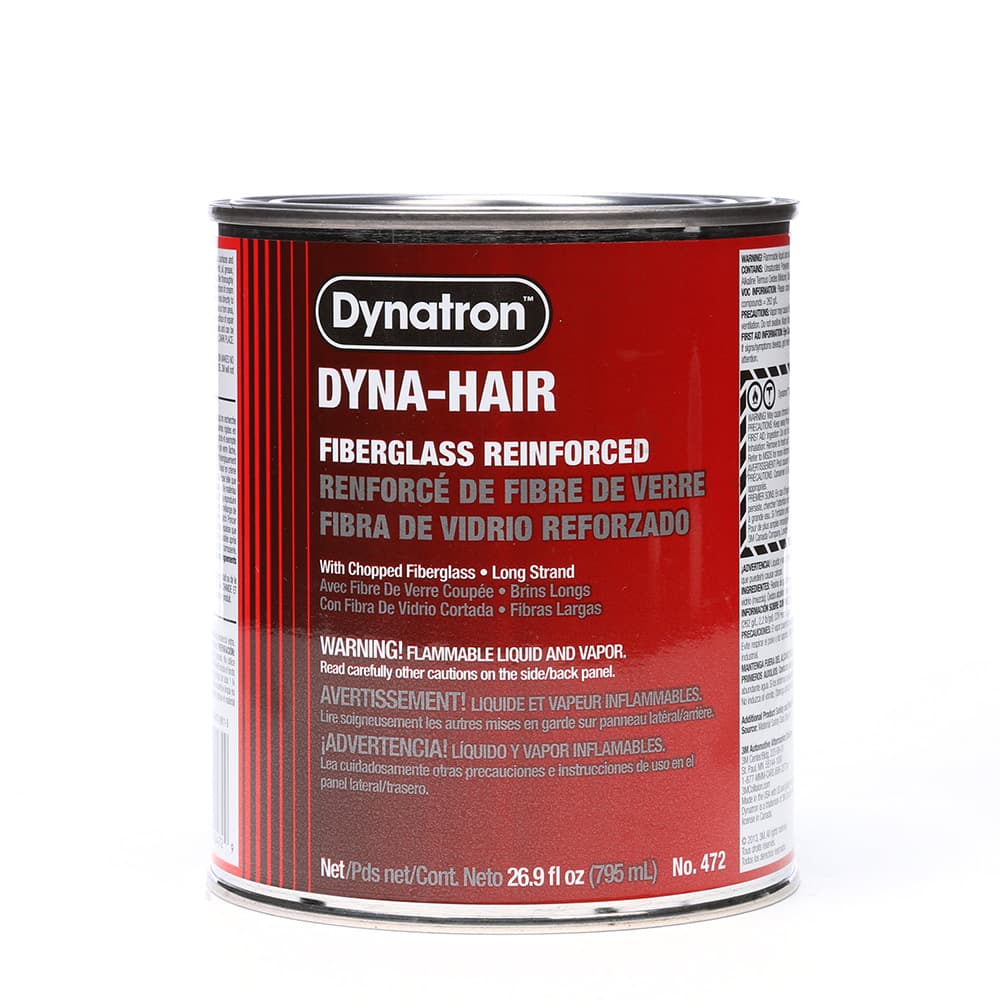
3M 00472, Dynatron Dyna-Hair Long Strand, Filler 472, 1 qt, 7000125050
$34.65
Factory Stock, 7-10 Day Leadtime
Our Dynatron Dyna-Hair Long Strand body filler repairs splits, cracks and holes in all kinds of surfaces, including wood, fiberglass, aluminum and bare or galvanized steel. Reinforced with long fiberglass strands, this waterproof filler offers additional versatility to any automotive repair.
Balance of Performance
Dynatron™ Dyna Hair® reinforced body filler provides a balance of performance and economy when repairing splits, cracks or rust holes in automotive bodies. Reinforced with long strand fiberglass, this filler creates waterproof repairs that are twice the strength of ordinary body fillers. Our two component polyester compound applies easily and creates a smooth, professional quality repair. This filler is produced with the highest quality resins, talc and microspheres. Dynalite has become an industry standard because it combines ease of use, faster working properties and top notch results.
Automotive body technicians rely on our filler for its good adhesion, consistent quality and compatibility with most paints. It combines spreading, easy mixing, good featheredging, and non separating properties into one filler.
Using Dynatron™ Dynalite™ Light Weight Body Filler is as easy as this simple 6 step process:
1. Clean the repair area using soap and water followed by a wax & grease remover/surface cleaner. Sand the surface as needed with grade P40 to P80 3M™ abrasive.
Note: If grinding is required use a grade 50 3M™ grinding disc, blow off the sanding dust with clean dry air. If repairing galvanized steel, e coat, primed/ painted surfaces or aluminum, sand with grade P80 3M™ abrasive to remove the paint/primer. Blow off with clean dry compressed air and re clean the surface using a clean paper or cloth towel and a wax & grease remover/surface cleaner.
2. Apply the required amount of body filler to a clean mixing surface. (Do not use discarded cardboard as a mixing surface as contamination may occur.) The correct hardener to filler ratio = 3 inch diameter circle 1/2 inch thick of filler to a 3 inch strip of cream hardener.
3. Mix the body filler and cream hardener thoroughly, to a uniform color. Gel time/setting time is approximately 3-5 minutes @ 75F (24C) using 2% hardener as prescribed. Spread the filler on the mixing board, being sure to break any air bubbles that were introduced during mixing.
4. Apply a thin layer using firm pressure to ensure maximum adhesion being sure to wet out the surface completely. Apply additional filler in layers, building up the damaged area higher than the surrounding surface. Maximum filler thickness should not exceed 1/4 inch. Allow curing time of 20 minutes.
5. Sand the filler to the proper contour with 3M abrasives, using the following recommended grade sequence: P40, P80, P180. Note: If more filler is needed blow off with clean dry compressed air and follow steps 2 through 6.
6. Wait approximately 45 minutes before applying primer and paint, always follow your paint company’s recommended procedures.
Related products
Adhesives & Sealants
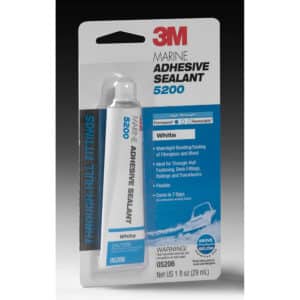
3M 05206, Marine Adhesive Sealant 5200, White, 1 oz Tube, 7010325697, 12/Case
$10.24
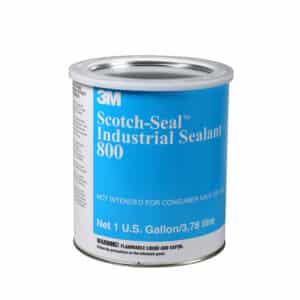
Adhesives & Sealants
3M 19677, Scotch-Seal Industrial Sealant 800, Reddish Brown, 1 Gallon Drum, 7000000793, 4/Case
$266.68